Discover the Wonders of Vermicomposting
Introduction to Vermicomposting
Table of Contents
- Table of Contents
- Welcome!
- What is Vermicomposting?
- Getting Started with Vermicomposting
- Setting Up Your Vermicomposting Bin
- Managing Your Worm Composting System
- Special Considerations for Singapore
- Join the Wriggley Farm Community
Welcome!
Welcome to The Wriggley Farm community! We’re excited to have you join us on this green journey into the world of vermicomposting. Whether you’re a seasoned gardener or just starting out, vermicomposting is a fantastic way to enrich your soil and reduce waste. Dive in with us and let’s grow together!
What is Vermicomposting?
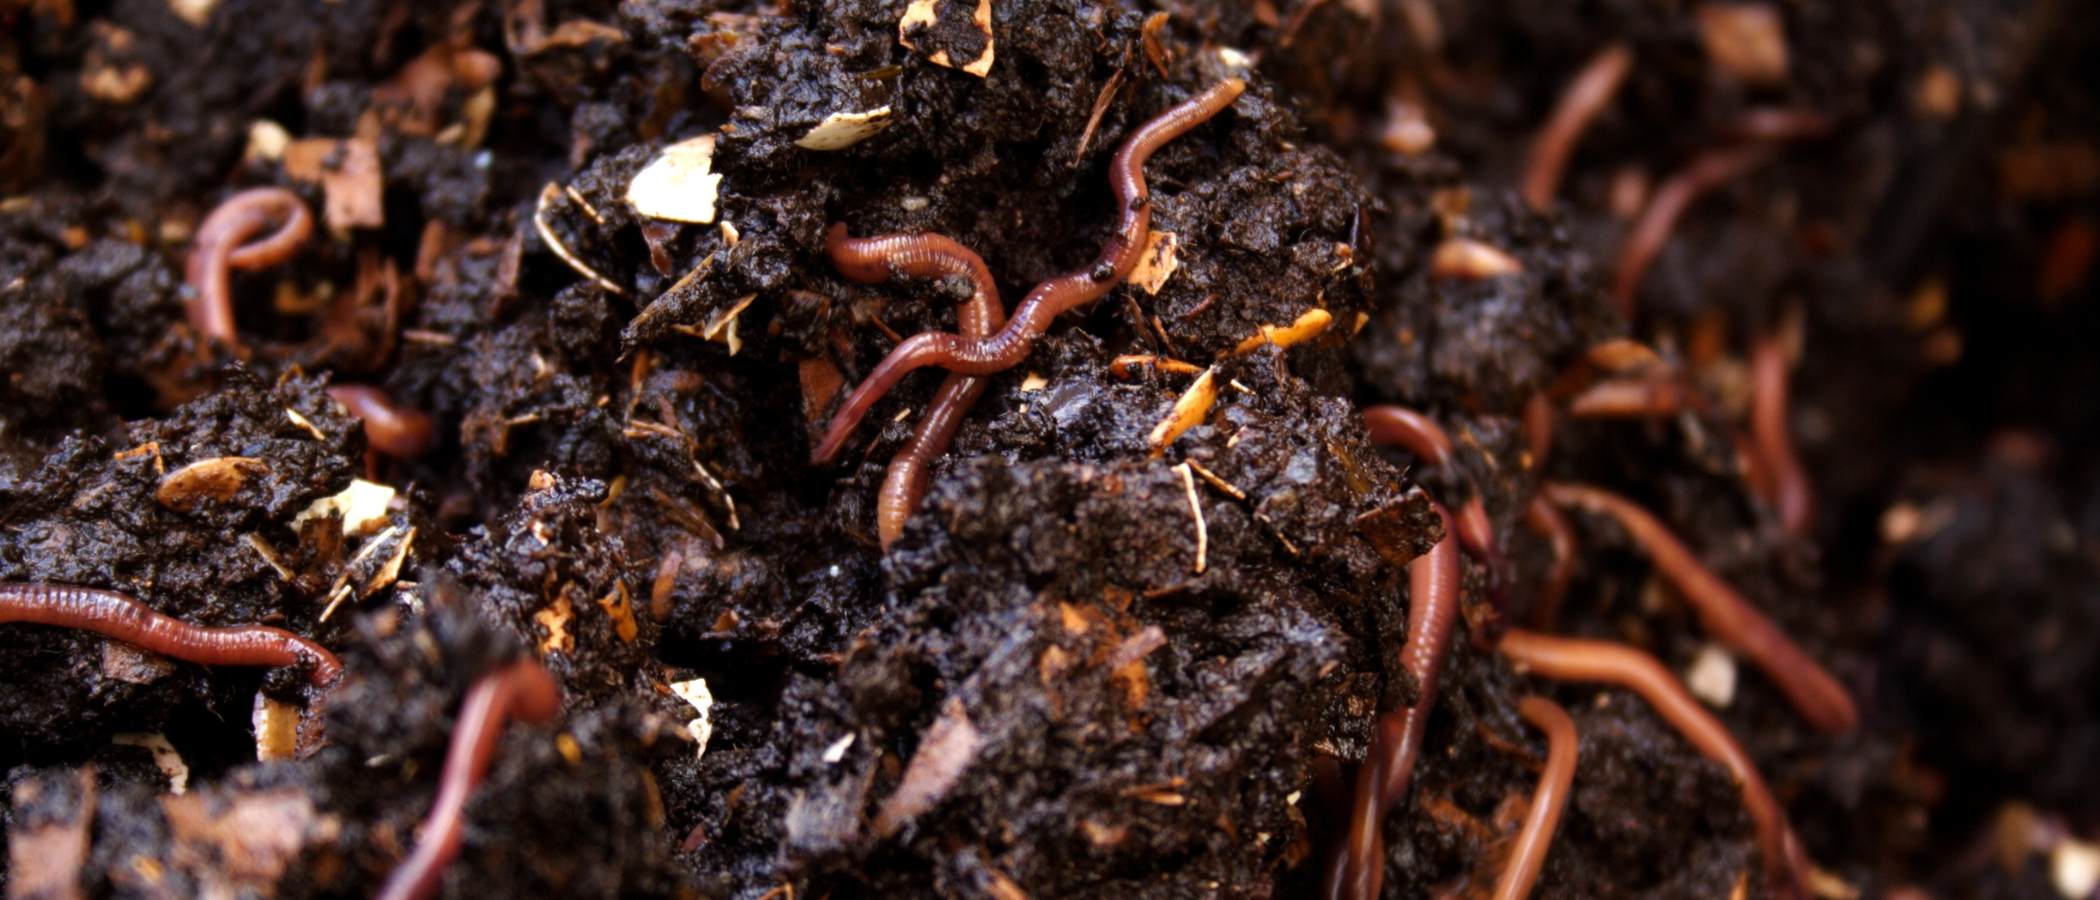
Vermicomposting is a natural process where earthworms turn organic waste into nutrient-rich compost, known as vermicompost. It’s like nature’s recycling program and is incredibly beneficial for your garden. Not only does it reduce waste, but it also creates a fantastic soil amendment that helps your plants thrive.
Getting Started with Vermicomposting
Materials You’ll Need
Starting a vermicomposting system is easy! Here’s what you’ll need:
- Worm Bin: This can be a store-bought bin or a DIY setup. You can even start small with a compact worm bin if space is limited.
- Composting Worms: For tropical climates like Singapore, blue worms (also known as Perionyx excavatus) are an excellent choice. They thrive in warm, humid conditions and are highly effective at breaking down organic matter.
- Bedding Materials: Think of this as the worms’ home. You can use materials like shredded newspaper, cardboard, or cocopeat for worm bedding.
- Organic Waste: Fruit and vegetable scraps are perfect for your worm friends.
Choosing the Right Worms
For those gardening in tropical climates, blue worms (Perionyx excavatus) are a fantastic option. They thrive in warm and humid environments, making them ideal for Singapore’s climate. If you’re wondering where to buy earthworms in Singapore, here are some local options:
- Facebook Group: Check out the Singapore Vermicomposting - Worm Composting group for local sellers.
- Carousell: Find blue earthworms for composting at Carousell. There are many individual suppliers distributing composting worms.
- The Garden Store: Visit The Garden Store for earthworm supplies.
- Werms Inc: Explore their Vermicomposting Starter Kit for all your composting needs.
Setting Up Your Vermicomposting Bin
Step-by-Step Guide
- Prepare the Bin: If you’re using a store-bought vermicomposting bin, follow the setup instructions. For DIY bins, ensure proper ventilation and drainage.
- Add Bedding: Fill the bin with your chosen bedding materials. Moisten them slightly to create a comfortable environment for the worms.
- Add Worms: Gently introduce your blue worms to their new home.
- Feed the Worms: Start by adding small amounts of kitchen scraps. Remember, worms love a balanced diet of fruit and vegetable scraps but avoid adding meat, dairy, and oily foods.
Creating the Ideal Environment
In Singapore’s warm climate, your vermicomposting bin will thrive as long as it’s kept in a shaded area. Direct sunlight can overheat the bin and harm your worms. Unlike cooler climates, you don’t need to worry about maintaining a specific temperature range. Instead, focus on keeping the bin in a cool, shaded spot where it can stay moist and comfortable for your worms. Regularly check moisture levels and ensure the bedding isn’t too dry or too wet.
Managing Your Worm Composting System
Daily Maintenance
Keep an eye on your worm bin to ensure it’s not too wet or too dry. Regularly adding new scraps and mixing the bedding will help keep things fresh and inviting for your worms.
I remember a time when my wife’s vermicompost was too moist, and it led to an unexpected adventure. All the worms decided to explore and ended up crawling out into the HDB corridor—definitely not ideal! It was a bit of a scene, but it taught us the importance of maintaining the right moisture levels. So, keep a close watch on your bin, and you’ll avoid any wormy escapes.
Harvesting Vermicompost
When your bin is filled with rich, dark compost, it’s time to harvest our worm castings. Simply remove the bottom layers of compost, as the worms usually migrate to the top layers. Leave some of the top layers behind to ensure that the composting process continues smoothly. The harvested vermicompost can be used to enrich your garden soil or potted plants.
Special Considerations for Singapore
If you’re gardening in Singapore, you might be curious about the best ways to vermicompost in our climate. We’ve got you covered:
- Local Suppliers: Check out the resources mentioned above for buying blue worms (Perionyx excavatus) and vermicomposting supplies. These worms are well-suited for tropical climates and can help you get started with the right materials. Whether you’re sourcing from Facebook groups, Carousell, The Garden Store, or Werms Inc, you’ll find excellent options to set up your composting system effectively.
- Apartment Vermicomposting: Even if you’re in a small space, you can still compost. I’ve personally vermicomposted in my bedroom—yes, my mom and wife were a bit freaked out at first! It worked out well, but it’s crucial to manage the environment properly. If not, you might find your worms trying to explore outside their bin. Choose a compact bin, keep it well-maintained, and follow our indoor vermicomposting tips to make it work.
Join the Wriggley Farm Community
We’d love to hear from you! Share your vermicomposting journey with us and let’s cultivate a garden of shared wisdom. Feel free to get in touch with questions, tips, or stories about your composting experiences.
Remember, vermicomposting is a wonderful way to contribute to a healthier planet while enhancing your garden. We’re here to support you every step of the way and can’t wait to see how your garden grows with the help of your new worm friends.
Let’s make composting a fun and rewarding part of our gardening journey. Happy composting from all of us at The Wriggley Farm!
Shafik Walakaka VERMICOMPOSTING